Originally created by greenkouki for HIDPlanet, this has been re-posted here with permission. This guide has been formatted and embellished for clarity.
Disclaimer:
Neither greenkouki, twistedsymphony, 240sxONE, nor HIDPlanet take responsibility for anything that happens as a result of reading this guide, proceed at your own risk.
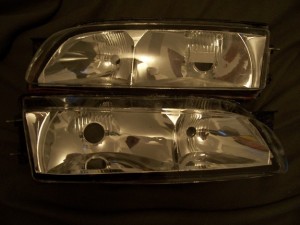
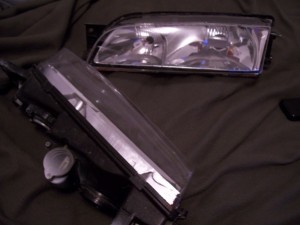
Purpose: The wavy “fluting” found on the inside of most glass headlights sometimes detracts from the beauty of the headlight design. If you’re retrofitting projectors for HID lights it can diminish your light output and causing glares as well. Also if your original headlights have plastic covers (like most USDM and JDM Zenki S14 headlights) the surface has likely become cracked and yellowed, further detracting from the looks of the headlight.
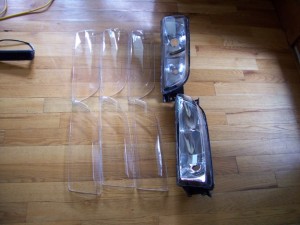
This guide will explain the process of how to manufacture your own replacement plastic headlight covers that will be crystal clear and free from fluting.
Making the Mold:
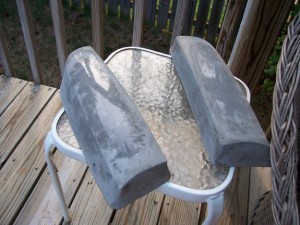
I made the male lens molds, by pouring either concrete or plaster in the rear of the original headlamp lens. you will want to use some sort of grease or mold release so you can get it out after it has set. Afterwards, fill in the fluting lines with either plaster or bondo (for concrete molds) and sand to a smooth finish.
A concrete mold (which is more durable than the plaster) a must if you want to do more than a couple pulls. (the photo above was before i added bondo to smooth the front surface)
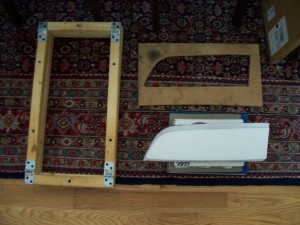
The other forming tool, a “female” mold is a cutout shaped like the edge of the male mold, only a little larger. I used 1/2″ mdf sheet for this and cut out the lens shape with a jigsaw.
Also, a holding frame is a good idea to keep the plastic taught when you pull it over the mold.
Above is the holding frame, mfd cutout, and male mold; the tools you will need to make your lenses.
Making the Lenses:
For the acrylic sheet, you will need 1/10th” thickness. Heat up the sheet of plastic in the oven (350 deg for me) inside of the holding frame.
While the plastic is softening in the oven, set up one of your molds, by raising it up a bit off whatever surface you are working on (floor for me). I just stacked up some books underneath the mold. Then take the leftover mdf piece that was cut out of the mdf ring and place it under the plaster mold (so the mold is less likely to crack).
Pull the frame and acrylic sheet out of the oven (with oven mits), press the holding frame/hot plastic over your male mold, and follow with the mdf ring you made to sandwich the hot plastic between the molds. Hold pressure on it until it’s mostly cooled.
To release the mold shake it slightly or tap on the front to release the new lens. You can also heat up the corners a bit with a heatgun if it is being stubborn and won’t release.
Once completely cooled you can trim the excess to your desired size, repeat the processes to make more lenses.
When replacing the old Lenses I have been sealing with either just some sort of durable tape onto the housing or an easily removable silicone based glue, this way you don’t have to heat up the housing/lens to remove it and risk damage.
