S14 Kouki: Return Faded Taillights Back to Black
Filed Under (Exterior) by Michael Pica on 10-09-2009
Tagged Under : kouki, repair, s14, taillights
The Problem:
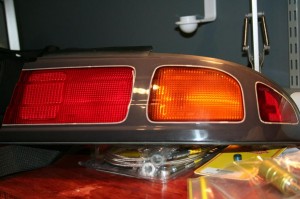
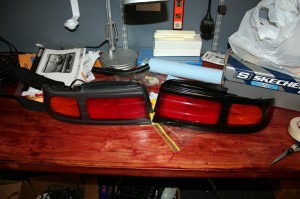
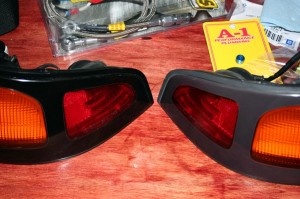
Ok so I wanted to buy kouki tails for my S14 since the day I brought it home. After finding what I though was a good deal on a clean set I open the box to find out they’re faded as hell… the black surrounds look Grey and almost purple in some light.
After the ’09 CIP meet and seeing nearly every set of kouki tails there looking faded to garbage it’s pretty clear that this isn’t a unique problem.
The Idea:
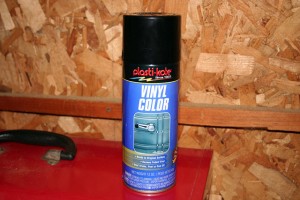
I’d used spay on Vinyl Die on plastics before to good success so I decided to test it out on the taillight and see how it goes. This is just generic stuff that I picked up at my local Auto parts store. It’s designed to repair or re-color interior pieces.
It goes on like spray paint but it soaks into the plastic and actually changes it’s color, the cool thing is you don’t need to sand (actually you SHOULDN’T sand) and you can’t put it on too thick either… it will just soak in more. The result is the same piece of plastic you had before, just in a different color.
The Test:
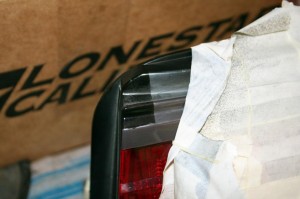
First thing I did was test it out, I wanted to use the actual plastic on the taillight, so I masked off most of the taillight and sprayed a small corner that would normally be covered up by the trunk lid and wouldn’t be seen most of the time. This was testing both how well the plastic reacted to the dye as well as how clean a masked off edge looked (since it soaks it could theoretically soak through or under the tape.
As you can see the test was a success, the plastic reacted to the dye perfectly and the masking left a nice clean edge
The Implementation:
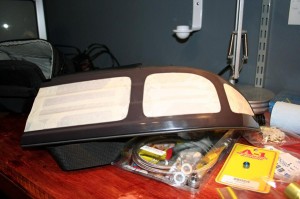
The biggest problem would be masking off the translucent areas of the taillight where I want the light to shine through, these have curved edges and some tight corners that make it tough to mask off. to handle this I picked up a roll of pinstriping tape from my local NAPA, the smallest size I could find.
I started by cleaning off the talight with soap and water, and then rubbing it down with alcohol to take any oil and grease off of it.
Once clean I used the pin-striping tape right along the border over the translucent part. In some areas, like difficult corners I would leave a little bit of the translucent part showing, as opposed to the other way around, I would rather cover up a little bit of the light than have ugly gray borders around the lights.
Once that was done I filled in the rest with regular masking tape.
Sprayed, let it dry for a few hours and pealed off the tape… HUGE improvement… it looks factory new.
Re-installation:
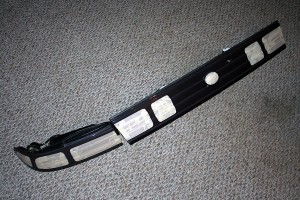
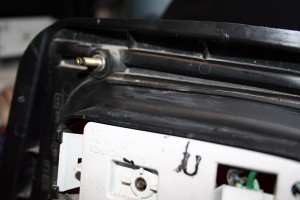
While not really part of the process for fixing the taillights I thought I should mention that to keep your trunk from seeping water it’s a good idea to put fresh sealant on the taillight side pieces.
Removing the old stuff was the hardest part. On the taillight I did it by simply pealing off as much as I could by hand, if you do this as soon as you remove the taillights from the car it will go easier. after that I used a big pink pencil eraser like a scraper to push off the rest of it, then used a small screw driver to scrape clean the crevices and finally wiped off any remaining residue with a shop rag and some Goo-Gone. This left clean sealant-free plastic on the back of the taillight once I was done. Removing sealant from the car was the same deal except I didn’t need to use the screw driver (I’d advise against it simply so you don’t mess up your paint).
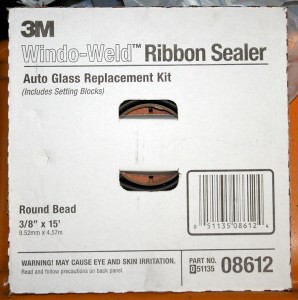
Fresh sealant can be purchased through Nissan (Part Number: B6553-89915 ). Alternatively you can hit up your parts store and pickup some Butyl Tape sealant for windshields, it’s essentially the same stuff Nissan sells but much cheaper. I found a roll in the adhesives section at Advanced Auto Parts for $18.
The Results:
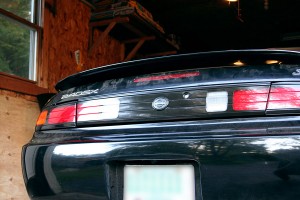
Please excuse the dusty car (it’s been in the garage for months) I could probably deal to polish the tailights too but you can see they look much much better than the ugly faded gray, especially on a black car.
